Text to Image
With Text to Image you can create images directly from the dashboard based on a description. This is a direct input mode and does not work via the automatic tool selection in the chat.
Starting from the dashboard
On the dashboard, choose Text to Image below the input field. This is the button with the chat icon, an arrow, and the image icon. Then the larger input field for your image description appears.
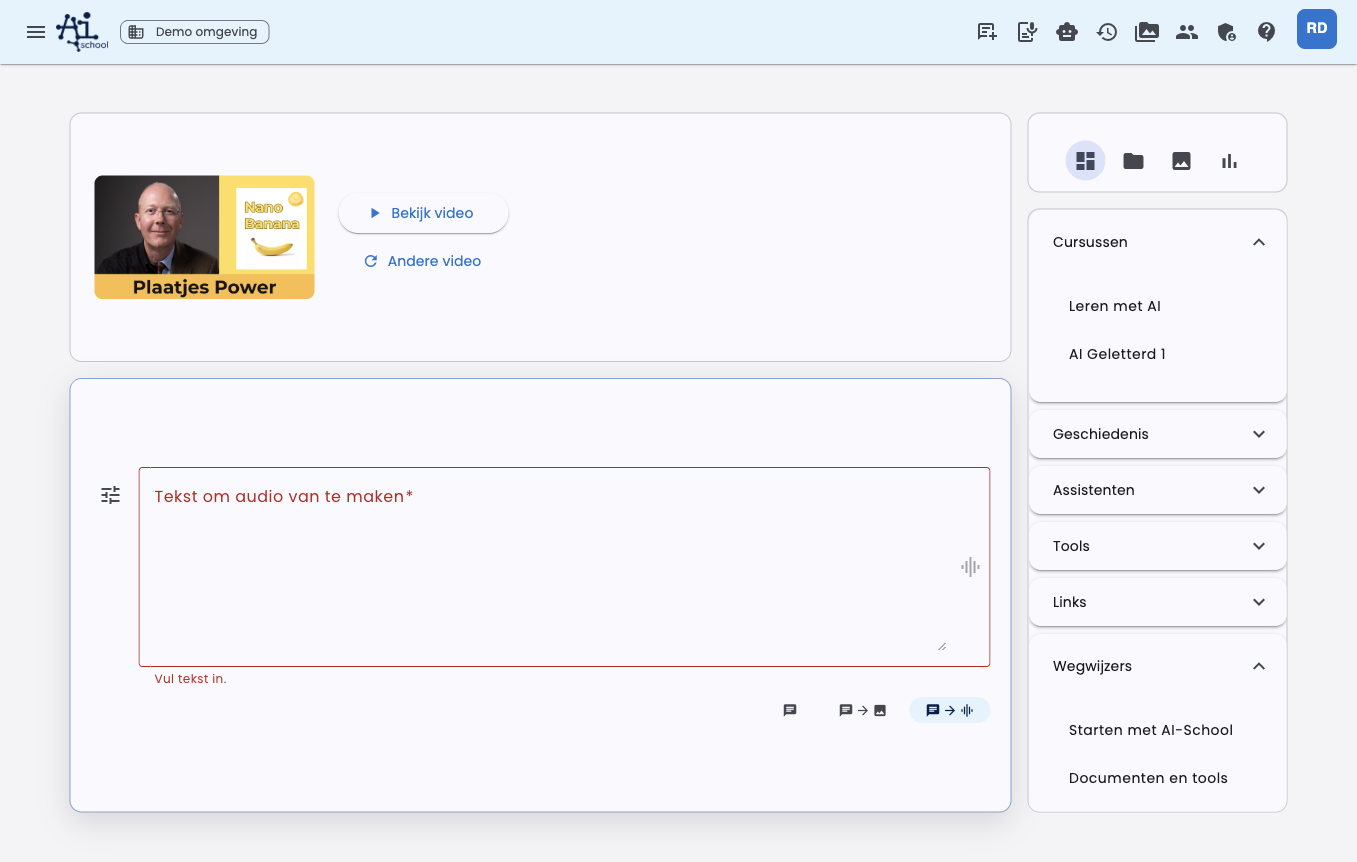
The input field becomes larger so you can write a detailed image description. The rest of the dashboard remains available, but the input gets more space.
Then write what you want to create, for example:
Create a calm illustration of a student working with AI on a paper.
Use a light, friendly style and little text in the image.
Settings
Via the settings button next to the input field you can adjust the image generation.
| Setting | Explanation |
|---|---|
| Model | Choose the image model you want to use. |
| Format | Choose Automatic, Square, Landscape, or Portrait. Automatic is the default. |
| Style | Choose for example photorealistic, illustrative, editorial, clean design, or playful. |
| Variants | Choose how many images you want to create: 1, 2, 3, or 4. By default, 2 variants are created. |
| Color preference | Enable color preferences and add your own colors or house style colors. |
You can save these settings as your personal default. Use Restore defaults to remove your saved image settings.
Automatic format
The format is set to Automatic by default. AI-School then looks at your prompt and, in an existing chat, at relevant previous messages. If you ask for a poster, portrait may be logical. If you ask for a presentation slide, landscape may fit better.
If you choose Square, Landscape, or Portrait yourself, that choice remains leading.
Adding inspiration images
You can add images as inspiration. The AI uses these images as visual guidance for style, color, composition, or subject. The result is still a new image.
Use inspiration for example if you want a new image to have the same atmosphere or style as a previously generated image.
Editing images
You can have an existing image adjusted. Choose Add image for editing via the settings button next to the input field and select an image. You can also choose a PDF; AI-School then uses the first page as an image.
In edit mode you do not choose an aspect ratio. AI-School then does not send a manual format, so the model can preserve the dimensions and ratio of the source image.
There are two ways to indicate what should change. You can also combine them.
With a general instruction
Describe in the input field what should be adjusted. This works well for changes to the entire image.
Examples:
- "Make the background lighter and calmer."
- "Remove the text and keep the composition."
- "Change the word Certificate to Diploma."
With annotations
With annotations you point out in the image itself what should change. This way you don't have to describe extensively which part you mean.
- Add the image for editing and choose Open and annotate. The image opens large next to the chat.
- Click the Annotate button.
- Point to the part you want to adjust. Click once to indicate a point, or drag with the mouse around the part, for example a word, a figure, or an animal. A short help text above the image reminds you of this.
- Write in the window what should happen with this part, for example "make yellow," "change this to Document," or "make this half the size," and choose Save.
- Repeat this for other parts. Each area gets its own instruction.
- Send the edit. An extra instruction in the input field is not needed.
Annotating only works with image models that can edit an existing image. If you choose a model that only creates a new image from text, such as FLUX, the Annotate button is disabled.
The area does not have to be exact. If you circle a word or figure only partially, the entire part will still be adjusted.
If you want to change something in the whole image besides the indicated parts, type that in the input field, for example "make the background yellow." That instruction will be applied to the whole image after the annotations.
Result
The generated images appear directly in the chat. You can open, download, and reuse them as inspiration or as a source for editing.
When downloading an image version, choose Download as image or Download as PDF (A4). The PDF places the image on an A4 page so you can print it directly. AI-School chooses portrait or landscape itself, fitting the image. The text in the PDF is part of the image and therefore cannot be edited separately.
Difference with the Make Images tool
The Make Images tool is used by the AI from the regular chat when you ask for an image. Text to Image is more direct: you consciously choose the image mode and set model, format, style, colors, and reference images yourself.
Editing subsequent image versions
In image mode, OpenAI and Gemini automatically edit the previous image version on a follow-up request. Select an older version to edit it; above the input field you see which version is used as the source. A manually chosen editing image has priority. After a successful generation, the new image becomes the source for the next edit. Flux/BFL and Stability AI do not edit images and do not get an automatic source image. Start a new chat if you want to create a separate new image.